I finished a woodworking project to hold many sets of bagpipes.
I have finally finished this project that I started before the 2020 pipe band season was cancelled due to Covid 19. It took a long time, mostly because my motivation dried up as the band contests started falling down.
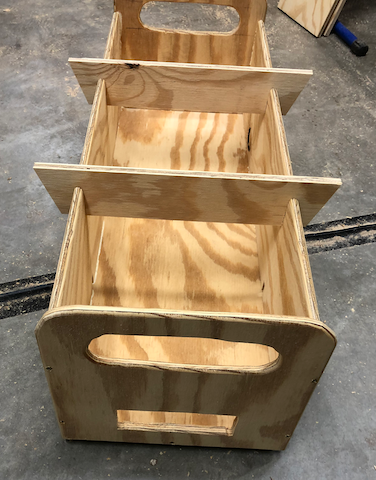
This is a portable rack to hold many sets of bagpipes at once, made from standard 1/2” plywood.
I can take no credit for the inspiration, I only copied what I saw from others.


I first saw such a thing at a highland games somewhere, another band had a rack made out of PVC pipes. I made a copy of that based on some photos I took of it. It lasted my band about a season, but started falling apart and getting more fragile. But, a while later we saw the same band at another highland games. They had made an upgrade to a wooden version, their PVC rack had fallen apart as well!
They didn’t have any plans, but they let me take some pictures. I based this version on those pictures. I hope to describe the process here, so that you might have an easier time to follow along.
Assembly
Here are two helpful time-lapses:
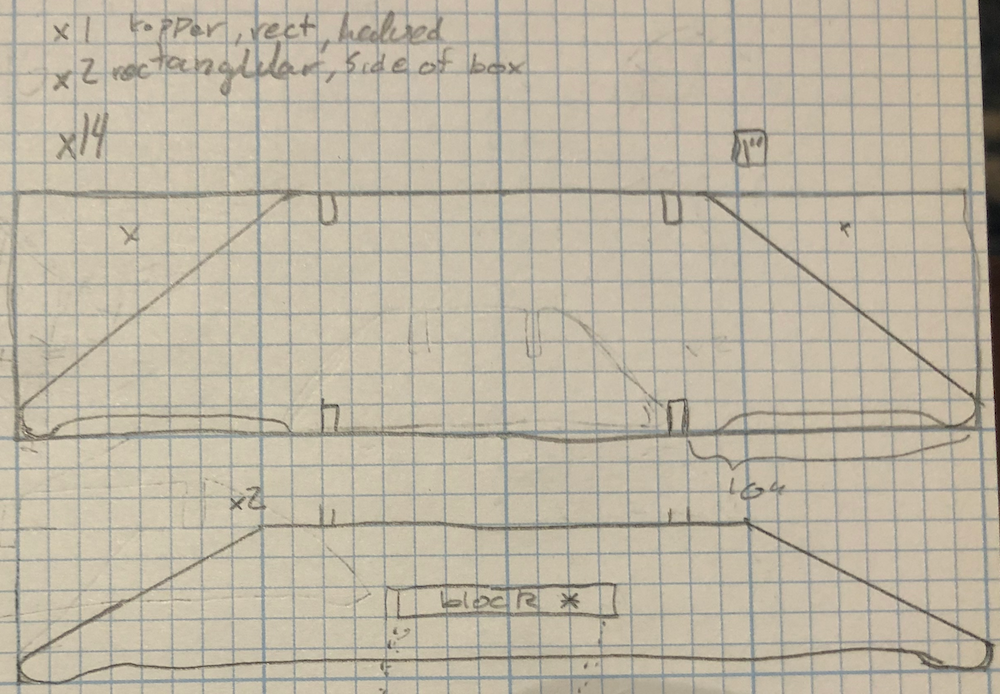
Plans
I always end up working from fairly basic hand-drawn plans, but I’ve included them here.
Each square is 1”.
The box ends and bottom are “made to fit” with respect to the actual distance between the cut-out notches.
Steps for build
Shelf pieces
-
I started by ripping down the plywood into strips, and then trimming to length on the mitre saw.
-
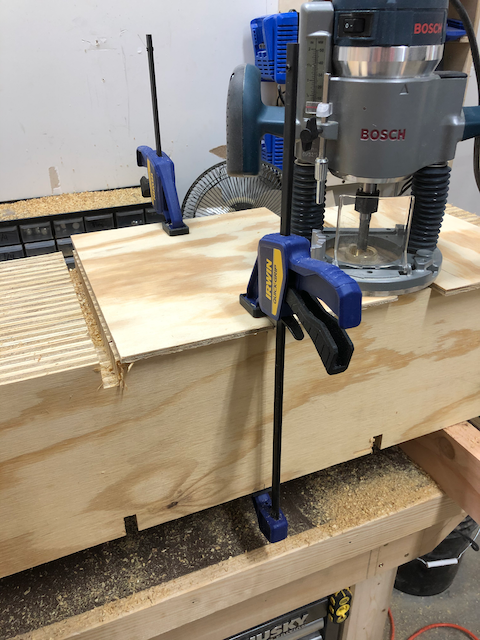
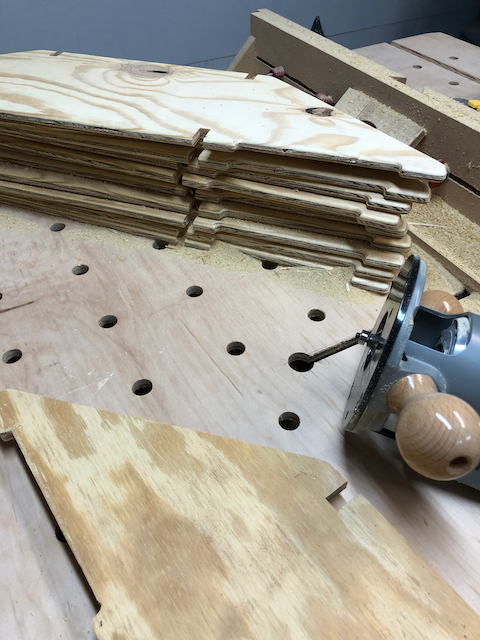
I used my router to route the half inch tracks in all of the pieces at once. This was pretty simple after clamping all the pieces together and setting up a guide. I used enough blanks make all of the shelves, box sides, toppers, and a couple extras. Since both toppers come out of one piece, you need to cut at least 17 pieces.
-
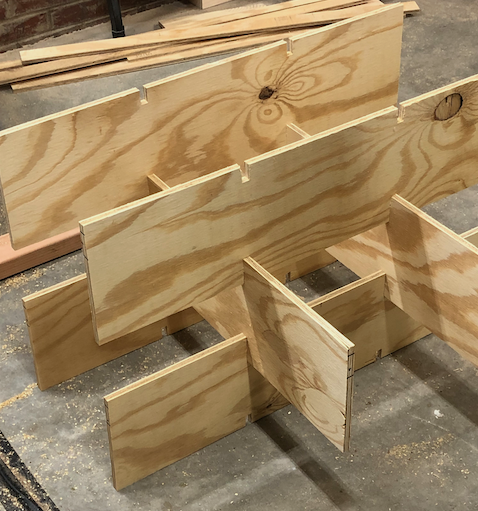
Test the interlocking after the tracks are cut.
-
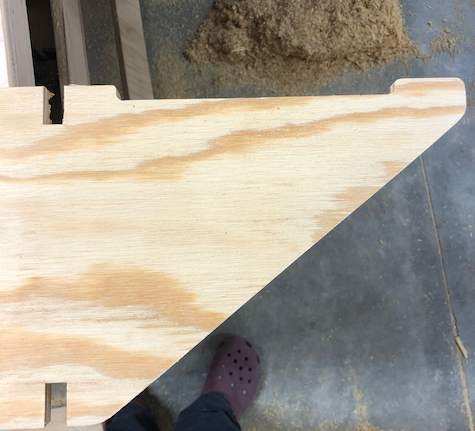
Back to the mitre saw, I used a stop block and cut angles for all the shelves.

-
To round the corners on the shelves, I ended up just using the power sander. Once again, I just clamped them all together to do them all at once. There may be a better way, but this worked just fine.
-
Making the channels where the bagpipes rest was difficult. I didn’t have the router bits to get the shape I wanted, which was sort of an s-curve. So I ended up trying a combination of tools, router, saws, and back to sanding it with 60 grit. The resulting shape was a bit more square than I was looking for, but acceptable.
Toppers and feet
-
I made some topper pieces to keep the top shelf stable. To make these, I just cut a shelf in half lengthwise, and trimmed them to an interesting shape.
-
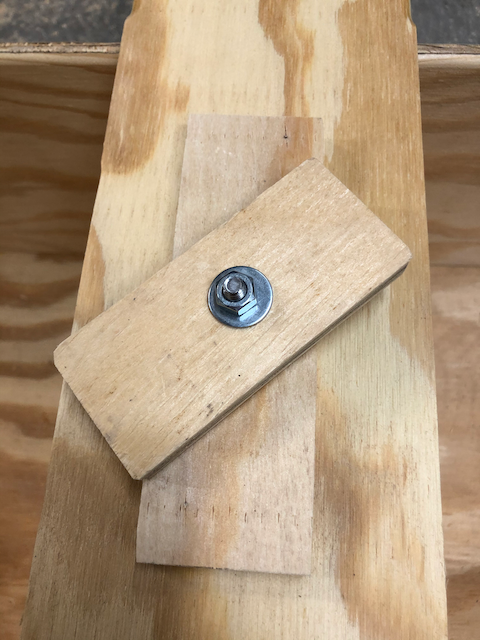
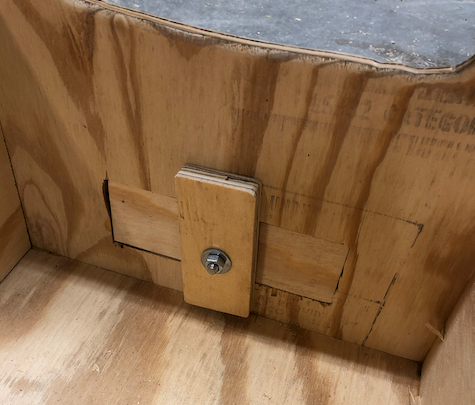
These feet latch on to the bottom to add some stability. They will lock onto the side of the final box.
Base
-
Since we already have the sides of the base (they are rectangular shelf pieces), we can rip stock for the ends and bottom. Using pieces that were made at the same time as the shelves is crucial, to make sure the interlocking tabs line up.
-
The end pieces have handles cut into them, as well as slots for the feet. I started the handles with a hole saw, and then used the jigsaw for both. The legs attach to the ends to provide stabilization in the sideways direction.
-
I used my round-over bit on all edges of shelves, as well as the base parts that will end up being on the exterior.
Assembly and finishing
-
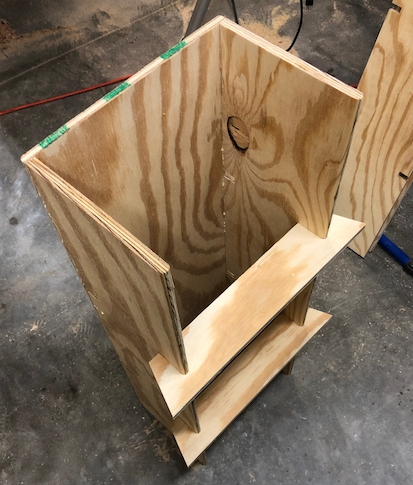
When assembling the base box, it is very important to end up with the right spacing of the interlocking tabs. To do this, just use the small topper pieces as spacers for the glue up. I first attached the sides to the bottom, and then attached the edges, using some wood glue and screws. Another very important point here is to attach the side piece edges to the faces of the bottom and edge-caps. If you do this reversed, the shelves will not fit in the box, since they are the same dimensions as the box side blank.
- Sanding. Lots of it. Sanding is of course the most tedious part of woodworking, and for this project, there are a lot of surfaces.
-
Finishing. I used shellac. There are so many surfaces; the easiest way I found to do apply it was to assemble the shelves, and finish the “outside” sides with all coats. Then, assemble it again “inside out and upside down” to get the remaining faces. I think using a sprayer would have been a lot easier, if you have one.

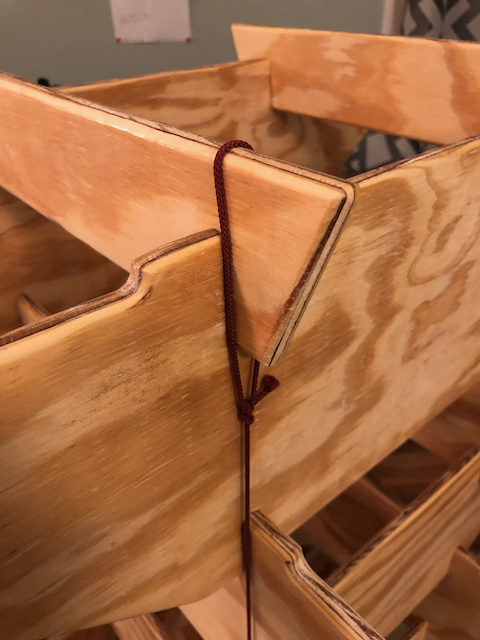
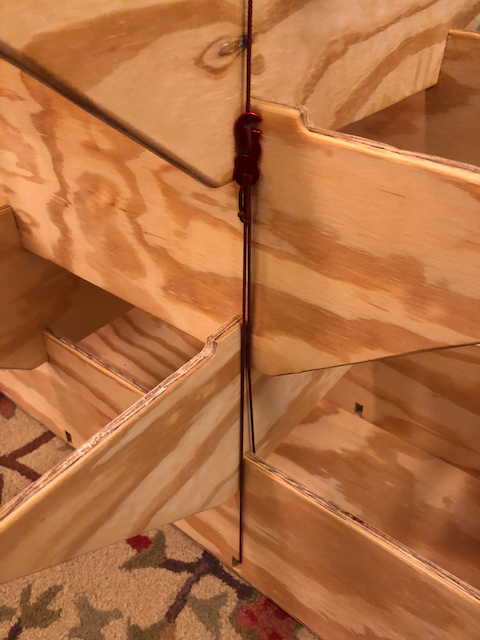
- Since the rack ended up a bit wobbly at the top, I made some tie downs to lock things together.
This doesn’t seem entirely necessary, but in the case where someone stacked a bunch of weight on only one side, it could tip.
These are simply some string and camping guy-line tighteners, that have been looped from the topper down to the extra notch at the bottom of the base.
Conclusion
Thanks for reading, and I hope this was helpful if you are thinking of making one for your band!