Learning to use machine lathes at MacLellan Bagpipes.
While between programming jobs earlier this year, I had the unique opportunity to help out in the workshop of a local bagpipe maker, and make a set of my own in the process. It was a great experience, and I learned a lot about how bagpipes are made.
Maclellan Bagpipes makes many shapes and types of bagpipes, but the ones I was interested in were the Revelations. These are made out of Delrin plastic, but lined with the same synthetic fibrous material some manufacturers choose for drone reeds. This gives them a more full bodied wood-like sound, while keeping the durability of plastic. And now that they are finished, the do in fact sound great.
One aspect of helping out and being part of a process, is getting to design as you go. I went in having a rough idea of what I wanted the bagpipe style to look like, but did make modifications as the process went along and I became more familiar with the options. After getting hands on and learning the basics of all the tools, I was able to put finishing tweaks on the bagpipes as I pleased.
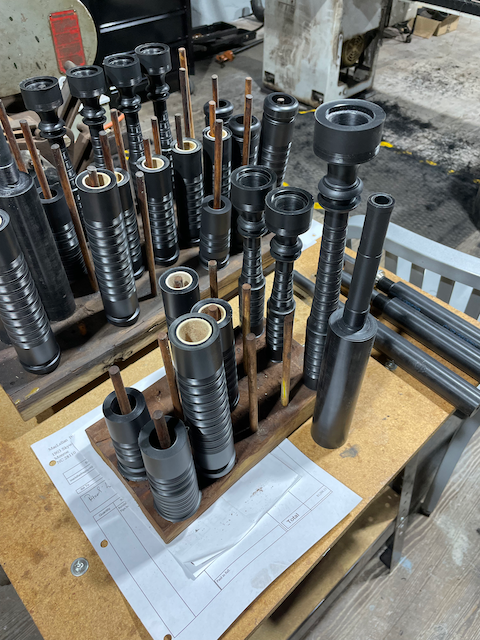
Here are the rough steps it takes to make a bagpipe, which were interspersed with various shop setup tasks, as the shop was still going through a move, and days of preparing materials for other sets of pipes.
- Cut long strips of plastic stock to the approx lengths.
- Drilling the inside bores. CNC takes care of a lot of the work here, but bagpipes have many different interior diameters, so there are a lot of tool changes. As well as disconnecting and reconnecting air lines for the pressurized gun drills.
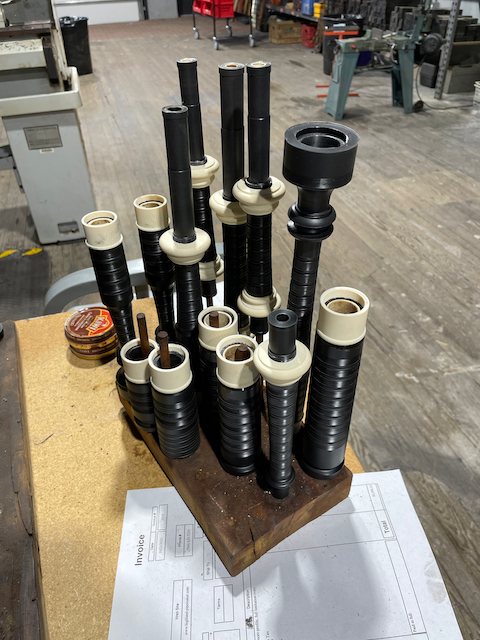
- Glue the interior inserts in place, after shaping them to the right size.
- Trim up the ends of the insert and plastic to be flush, square ends.
- Cut out the area for the tuning pins.
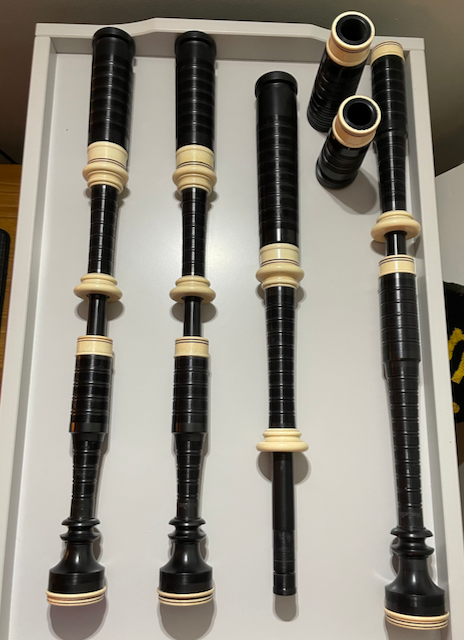
- Cut the profile, or outside shape, of each piece. This is when it really started to look like a bagpipe, very satisfying. Much of this was done by CNC, but adding the combs was all by hand, as well as various other final cleanups that the machine wasn’t able to do.
- Cutting threads for all the decorative pieces.
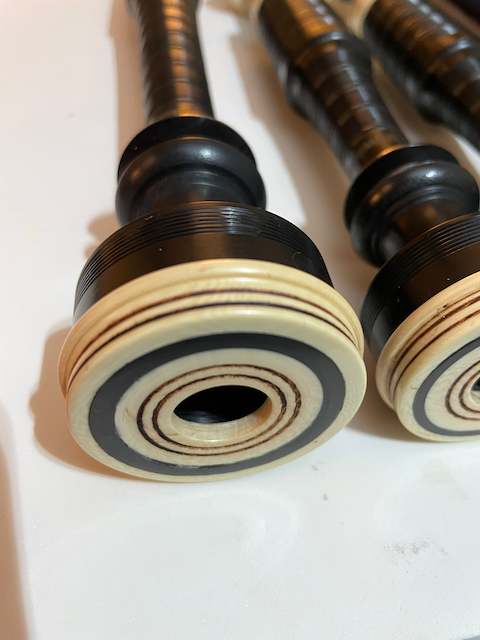
- Making mounts and ferrules. Many choices here, from shape to material. I went with a slim gunn style mount in imitation ivory, and imitation ivory ferrules.
- Assembly, glue all the pieces on to the pipes.
- Final finishing. Touching up any rough areas by hand. Sanding and polishing. I added some decorative grooves, and rubbed them with shoe polish for an antiqued look.
When all said and done, making bagpipes is not easy. This was a long process, and just for one set! But I am very happy with them and that I was able to do this, and plan to get back into the shop to help out on other projects soon.
Here are a few pictures of the process and the results.